Mailchimp can be so user-friendly that sometimes we might forget how powerful it can be. Compared to more “robust” software that costs thousands per month it might seem over-simplified and not powerful enough. Unless you’re a Fortune 500 however, I would challenge you to first give a more cost-effective solution – like Mailchimp – a try before assuming that you need to custom-build something or assuming that you need an advanced marketing automation software like Marketo, Hubspot, or Infusionsoft.
By first taking the time to figure out what you’re trying to accomplish, and how you could go about trying it out on a smaller scale before making everything perfectly automated and amazing, you can learn if this “solution” is even something you’ll use before building out a huge system.
Need email marketing help?
Check out my monthly service – Deliver to start seeing results from your email efforts.
So without further ado, here are seven MailChimp (my email marketing provider of choice) hacks that you might not know about. Many of these tips can help you do interesting things, including some marketing automation.
Table of Contents:
1. Lists vs Groups: Use both
2. Change your unsubscribe text & notifications
3. Use hidden groups fields
4. Importing is your friend
5. Google Forms + importing
6. Use conditional/smart tags
7. Set up Automation
1. Lists vs Groups: Use both
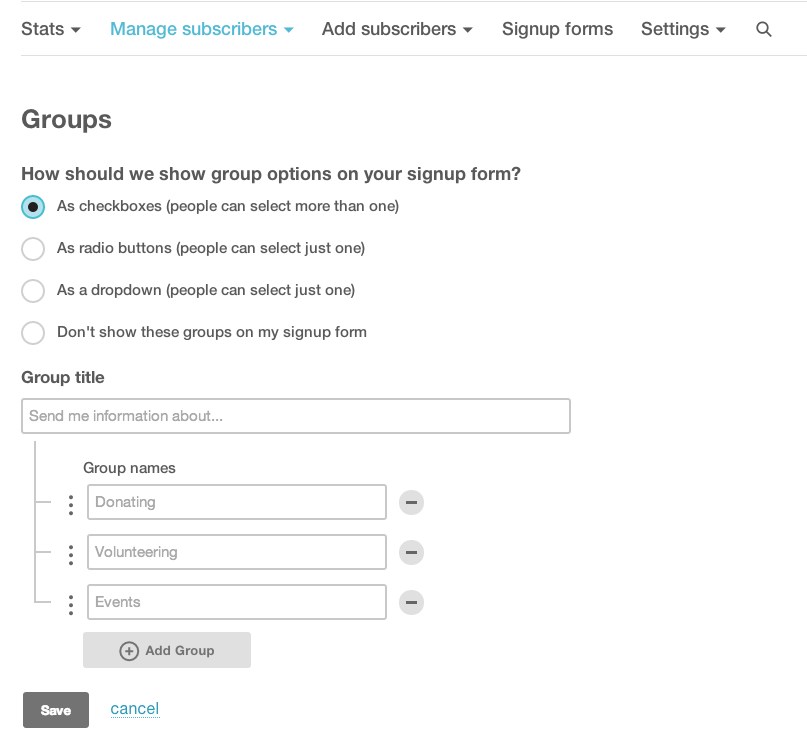
While you can use groups to allow your subscribers to self-select which newsletter or interest they have, you can also use Groups information in tandem by having another “Group” options of Frequency. (eg. “How often do you want to hear from me? Send me all the things, weekly, monthly.”) Then when you go to send out campaigns, just filter your send to the INTEREST group, and the frequency. Segmenting your list with groups lets you communicate with people when and how they want. Also a great way to decrease unsubscribe rates. Learn more about segmentation and groups here.
2. Change your unsubscribe text & edit your extra unsubscribe notifications

You do have to include unsubscribe info in the footer of your email. You don’t have to have it be so boring though. Spice it up with a “Too many emails? Change your preferences or unsubscribe completely” or something similar.
Another often overlooked setting is the unsubscribe confirmation email notification:
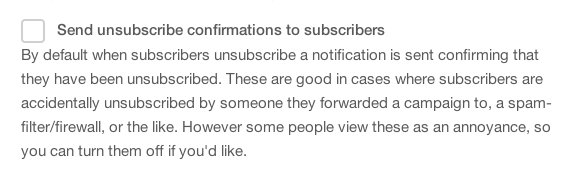
If I unsubscribe from your list, please don’t send me an automated “you’re unsubscribed” email! This bothers some people more than others, the good news is there is a way to turn this off.
3. Use hidden groups fields
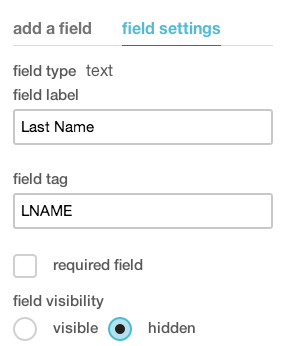
Another amazingly powerful feature of groups is that you can create hidden fields. Meaning your subscribers aren’t hassled with seeing 20 options when they sign up or edit their preferences, but you can still keep extra info about them in their profile to make communicating with them more significant. Example: Did they download something on your site or sign up for a specific service/product of your already? Put this in a hidden group, so you can include/exclude/filter when sending or even customize specific content to people who have/have not done something. Unsure how to get this info into Mailchimp? You have several options: manually, the API, or importing.
4. Importing is your friend
Mailchimp’s import feature is one of the reasons it’s my #1 recommended email marketing provider for small businesses. While some providers (like Aweber) don’t trust you to be capable of importing. Mailchimp realizes that not all users come from the same place and how powerful it is to make your list more detailed by filling out profiles with more info.
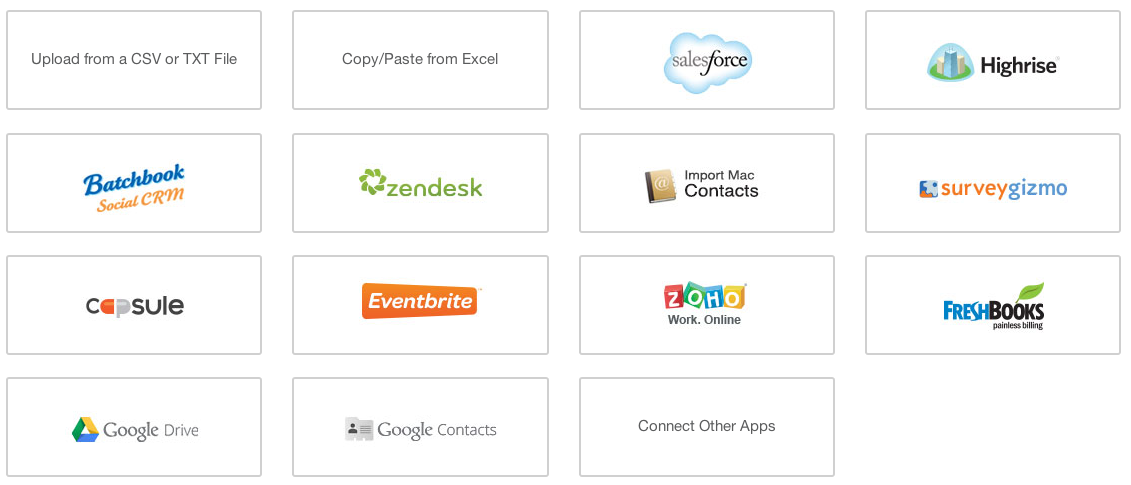
5. Google Forms + importing
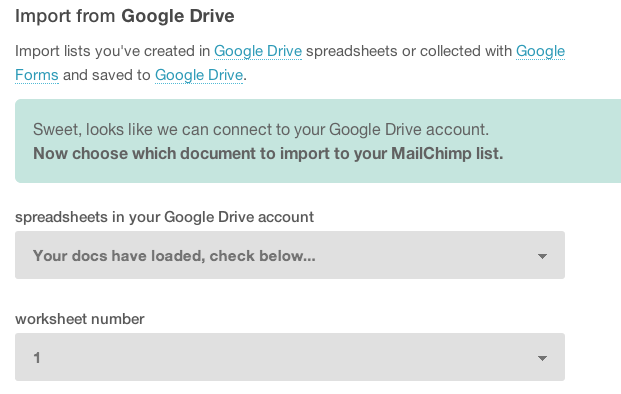
A great way to test something new is by using a Google form to catch signups and then importing these people into Mailchimp. A few weeks in if you realize “wowza this needs to be automatic” then build that. But to start, do yourself a favor and “SHIP” WHATEVER YOU’RE DOING! Get it out there, customize a Google form and use the Import from Google Drive option. Start small.
6. Use conditional/smart tags
Yeah, you might already have an A/B Split Campaign set up but did you know that you can also use if/else-type statements within your copy referencing some of those hidden and not so hidden groups and fields we talked about or a/b test the entire email body? Learn more about using conditional or smart tags.
7. Set up Automation (previously called “Autoresponders”)
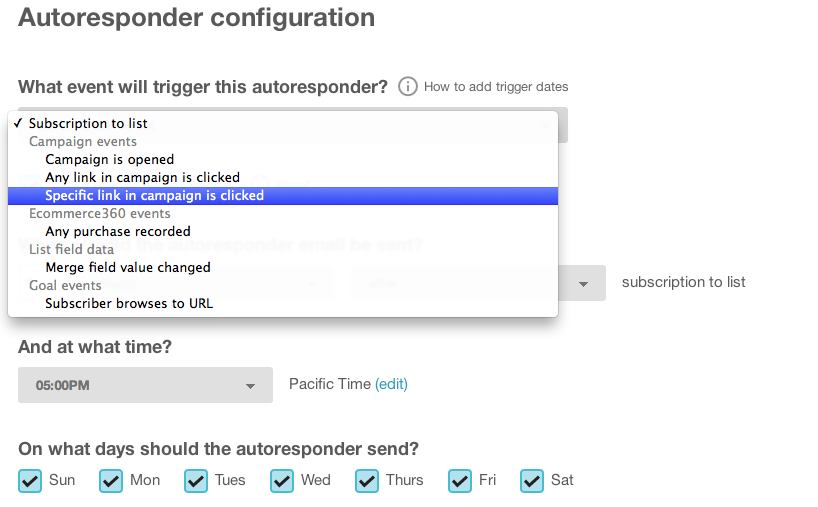
Autoresponders are a great way to test out marketing automation. You can base Autoresponders off of many different variables and actions including subscription to a list, campaign opened, clicked, or even a specific link clicked. Sound overwhelming? Start with an Autoresponder a week after your users signup that explains a benefit (or even a feature) about your product or service, or keep it short and ask why they signed up and what they’d like to see more of.
Want to learn more about using Mailchimp for smart and efficient email marketing? Sign up for my free newsletter: