Pressing the “one-click” install for WordPress is just the beginning to getting your blog off the ground. While the next biggie is finding a template that you love, it’s also important to take a few minutes to change some of the default settings in WordPress. Taking the time to make these initial changes will save you a lot of time and headache down the road.
So here are some best practices for changes to the default settings in WordPress.
1. Change your site Tagline
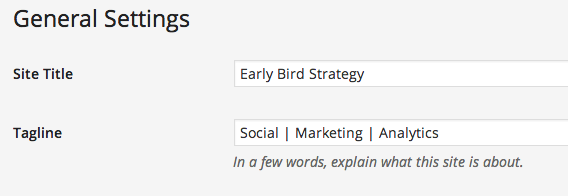
Settings>>General
The default here is “Just another WordPress blog”, unless you changed it during install. This is important to change because it will show up in search engines – and is not very descriptive of a title. For example, if I didn’t change mine, it would show up in Search as “Early Bird Strategy | Just another WordPress blog”.
2. Change your Timezone
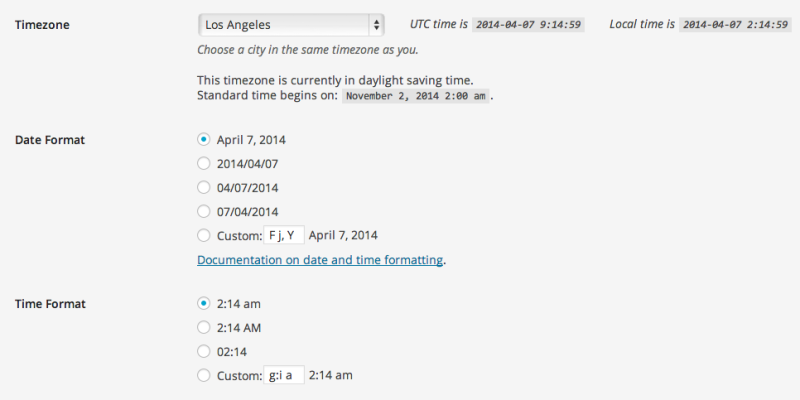
Settings>>General
While you’re on the General settings page, hop down and select your correct timezone so that when you schedule posts in the future, you’re actually scheduling for the time you think you are.
3. Change your Permalink structure
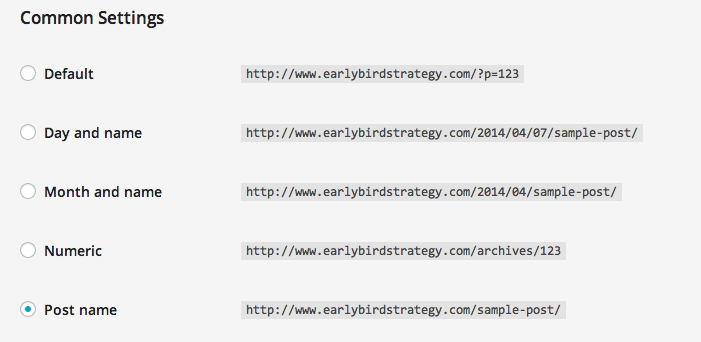
Settings>>Permalinks
The current best practice for permalink structure for WordPress is to just use the “Post name” option. If you’re just getting started and haven’t published any posts yet jump in and change this. If you have been blogging for a while and have posts live, don’t just randomly change this as it will change the structure of all your URLs and cause major problems with your site. This is why it’s a good thing to set up correctly at the beginning (which is why it’s on this list!). Selecting “Post name” means the post url will default to for example: “earlybirdstrategy.com/this-post”. If I had selected date it would be “earlybirdstrategy.com/2014/03/18/this-post”, but it’s best for SEO these days to go with the shortest option and “Post name”.
4. Change your Comments settings
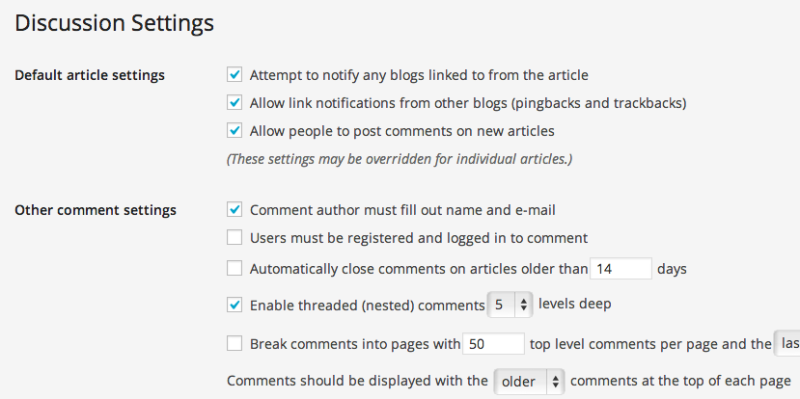
Settings>>Discussion
Discussion Settings really means “Comments”. All of these are really up to you, and the good news is you can change them later. So leave comments on or off, or somewhere in between with a time limit of days since the post, and a ton of other settings, just be sure you know what’s going on here and have the settings set to how you want.
5. Change your default Image size
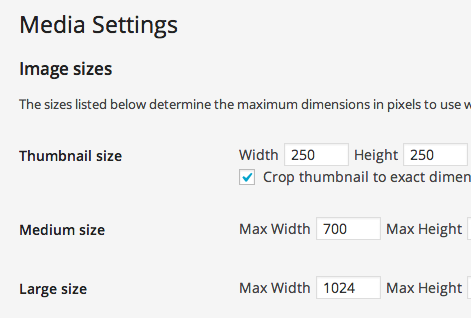
Settings >> Media
WordPress will automatically create several sizes of any image you upload: a thumbnail, medium, and large, (the full size that you uploaded is available too). Depending on how your theme is laid out, this might matter more or less. For example, if your theme width for a blog post is about 700px wide, then it would make sense for your large image to be 700px so it automatically matches the width.
6. Edit your default Category

Posts >> Categories
When you first install WordPress, you’ll see a bit of sample data: a sample blog post, a sample page, a sample category etc. Change the name of the “Uncategorized” category to something you’ll be using a lot. (eg. Travel, Food, etc), and then click on the quick edit and change the slug url as well to match. This way, you don’t realize a couple years in that you are accidentally dumping posts into a category called Uncategorized (rookie mistake!) or even worse, have it as part of your link structure. The purpose of Categories is to make them useful – so ‘uncategorized’ is perhaps the most opposite of useful default.
7. Start your Navigation structure
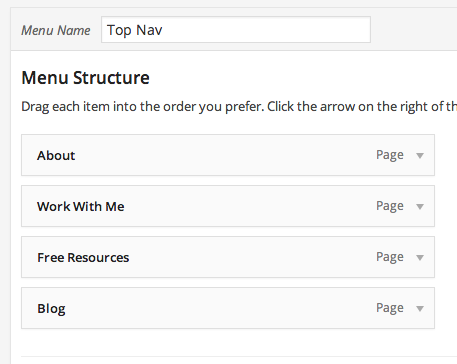
Appearance >> Menu
If your website is for a product or service, your navigation will be a little different than if you’re setting up just a blog. Think about what’s important for your business. The great thing about WordPress is you can no customize and edit your nav links (by selecting Pages, Categories, or even links) on the fly. So even if you hire a designer or get a fancy new theme and decide later that you want to “swap out a link” in your navigation, you don’t have to go digging through code, you can just jump in and drag a new link over. Remember to always see what it looks like LIVE after you’ve done this to make sure it jives in the available space.
Some typical navigation items: About, contact, press, main categories/products, blog, shop etc.
And you’re done! That’s it for the settings that you’ll be wishing you’d just changed first! Next up, check out the best WordPress plugins to install first.
How did it go? Leave any questions in the comments!